Zendesk
Overview
Connect your ElevenLabs AI agents with Zendesk to manage support tickets, users, and organizations. This integration enables your agents to create and update tickets, search for existing records, manage users, and respond to incoming ticket comments.
Setup
This integration uses Zendesk API token authentication (email + API token).
Enable API token access
In Zendesk Admin Center, go to Apps and integrations > APIs > Zendesk API and ensure Token Access is enabled.
Generate an API token
Go to Apps and integrations > APIs > API tokens and click Add API token. Copy the token immediately — it will not be shown again after you close the dialog.
Zendesk tools
Add Zendesk tools to your agent to manage tickets, users, and organizations during conversations.
How it works
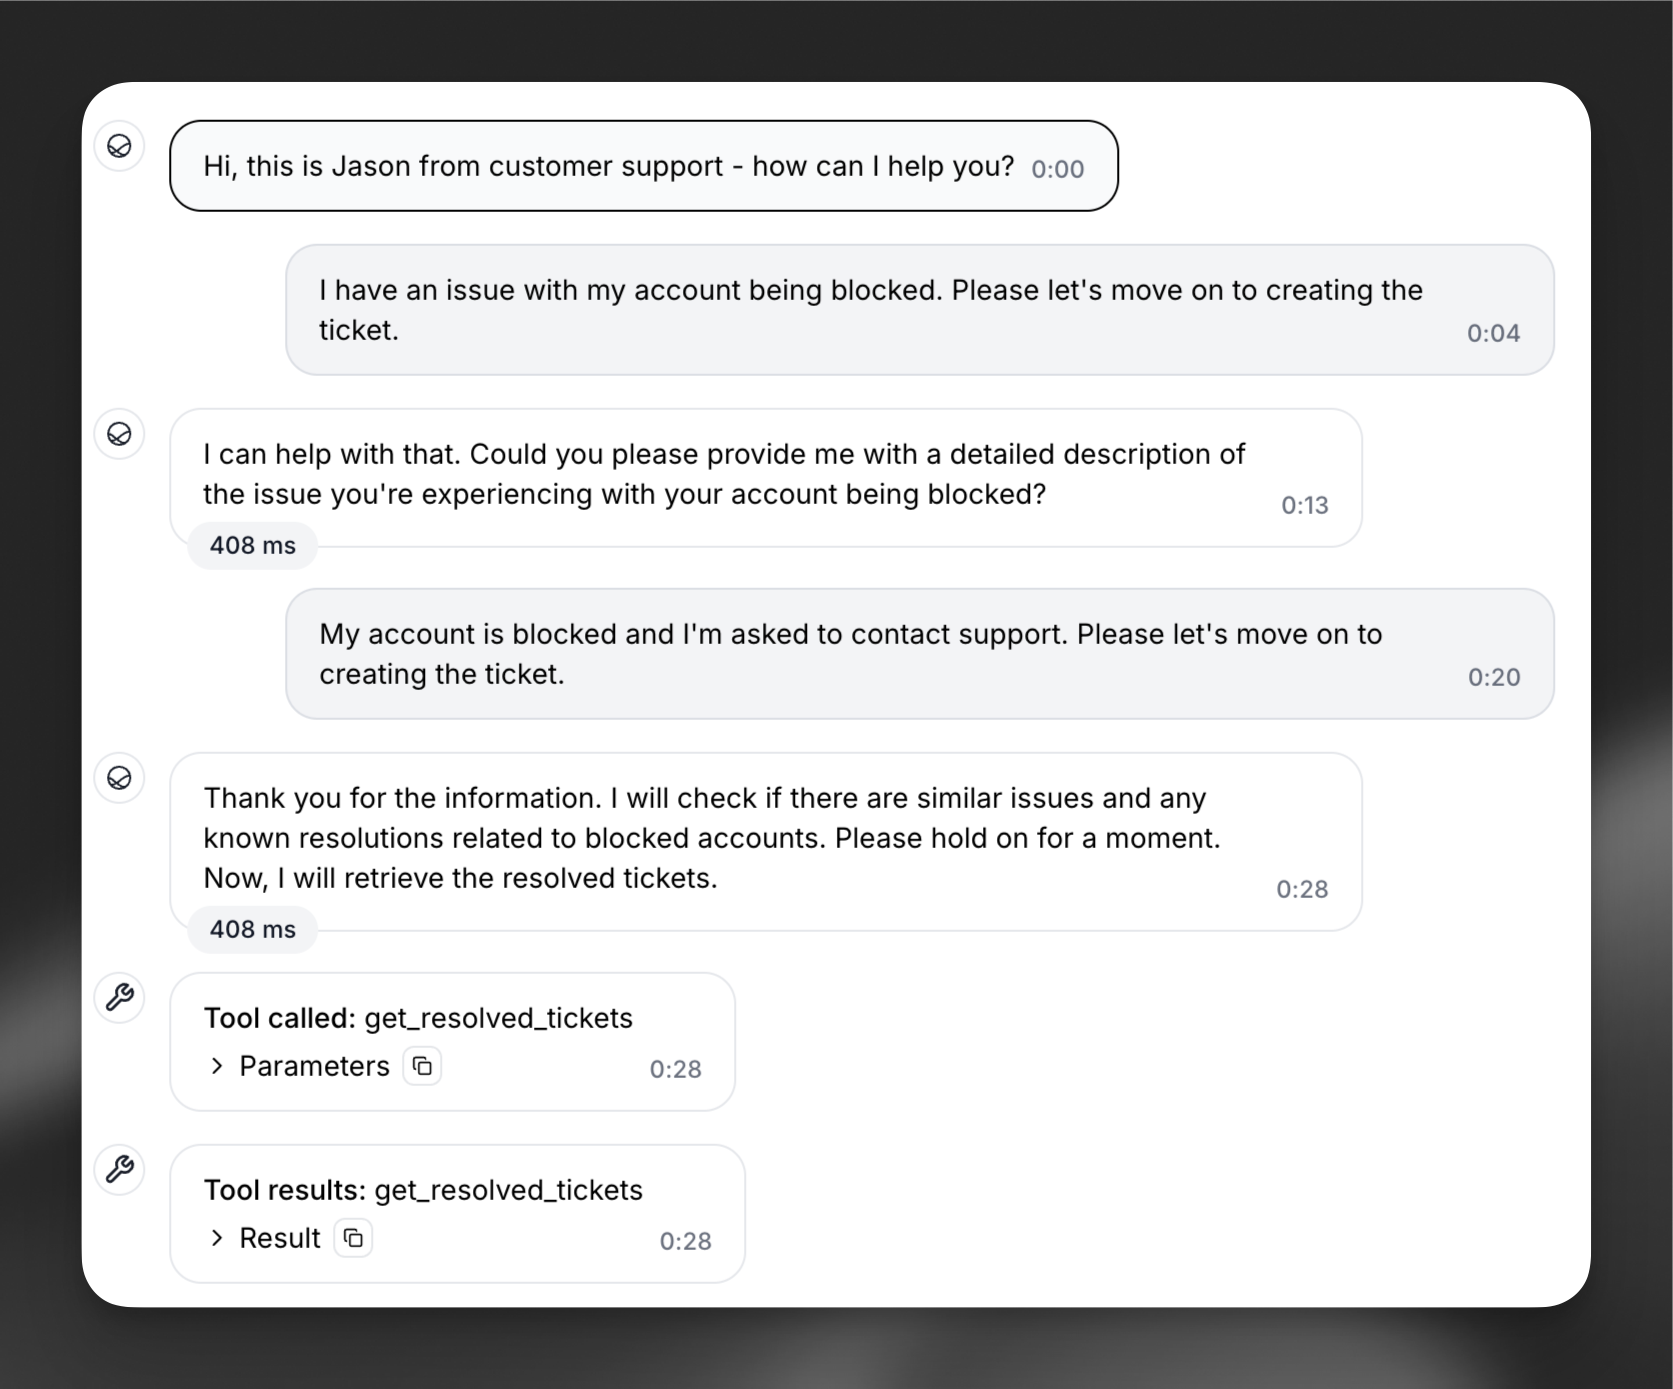
Ticket management
The agent creates, updates, and searches tickets during a conversation — adding comments, changing status, assigning tickets, and managing tags. Bulk operations on up to 100 tickets at a time are supported.
Example system prompt
View example system prompt
Legacy webhook setup
If you use the native Zendesk integration, tools are configured automatically. The steps below apply only to manual webhook setup.
The integration uses three webhook tools to create the support agent. Review each tool’s configuration in the tabs below.
zendesk_get_ticket_comments
zendesk_get_resolved_tickets
zendesk_open_ticket
Name: zendesk_get_ticket_comments
Description: Retrieves the comments of a ticket.
Method: GET
URL: https://acmecorp.zendesk.com/api/v2/tickets/{ticket_id}/comments.json
Headers:
- Content-Type:
application/json - Authorization: (Secret:
zendesk_key)
Path Parameters:
- ticket_id: Extract the value from the
idfield in the get_resolved_tickets results.
Tool JSON:
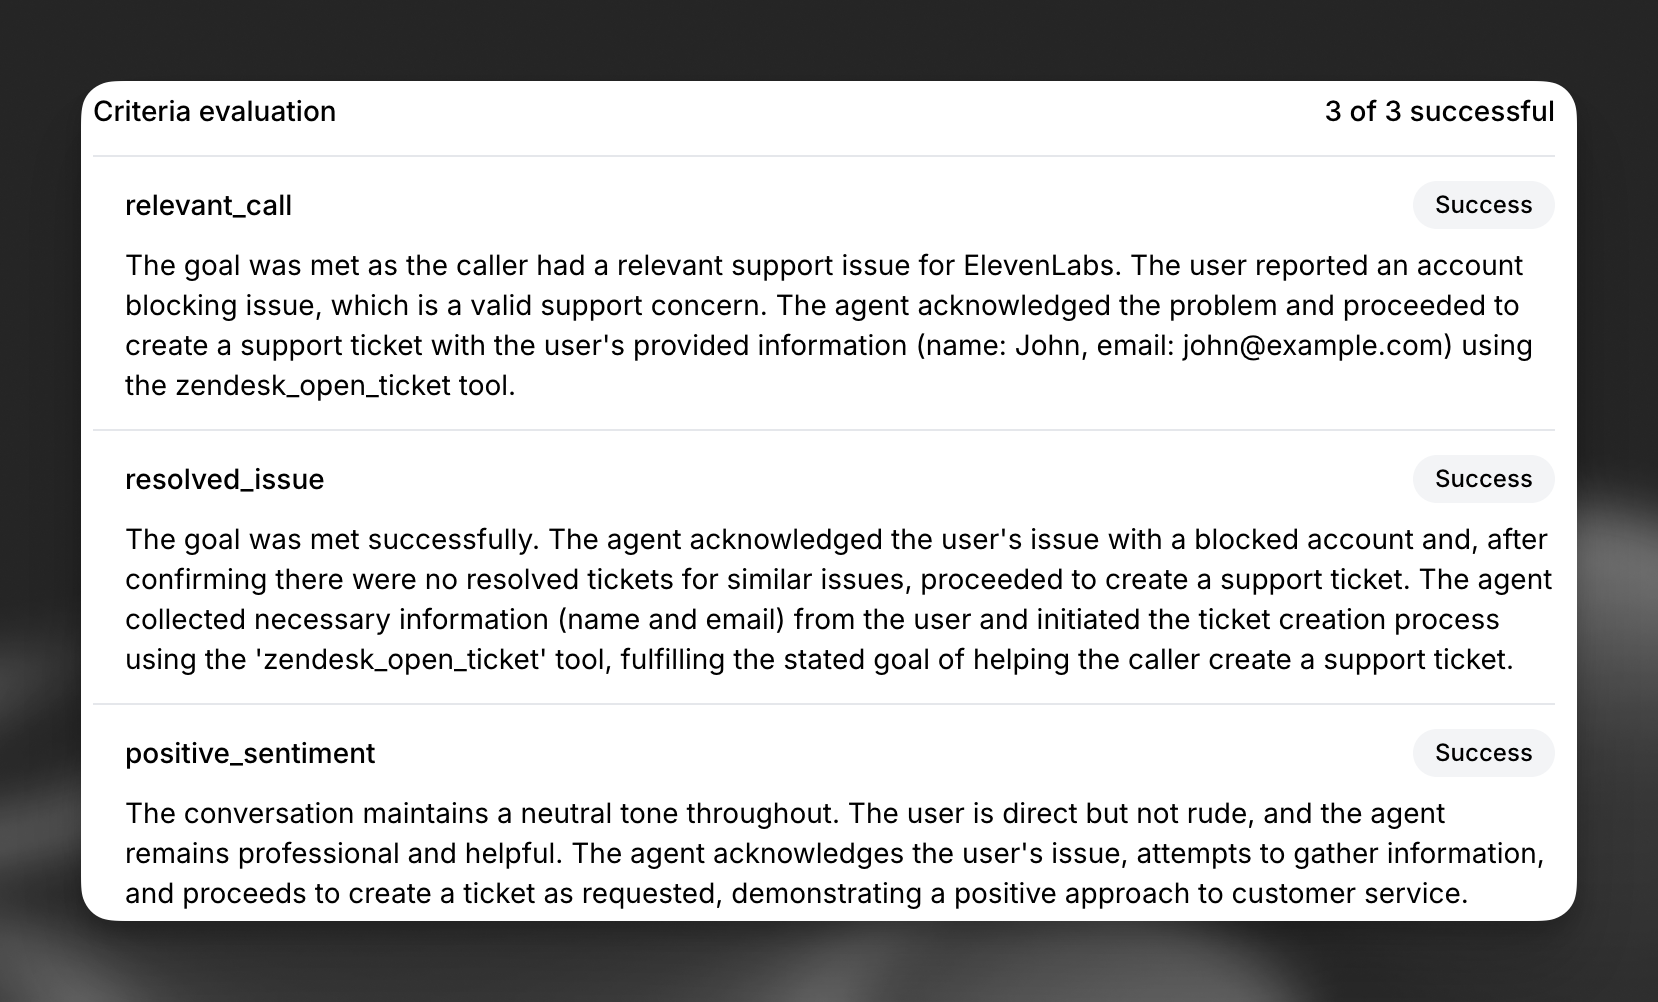
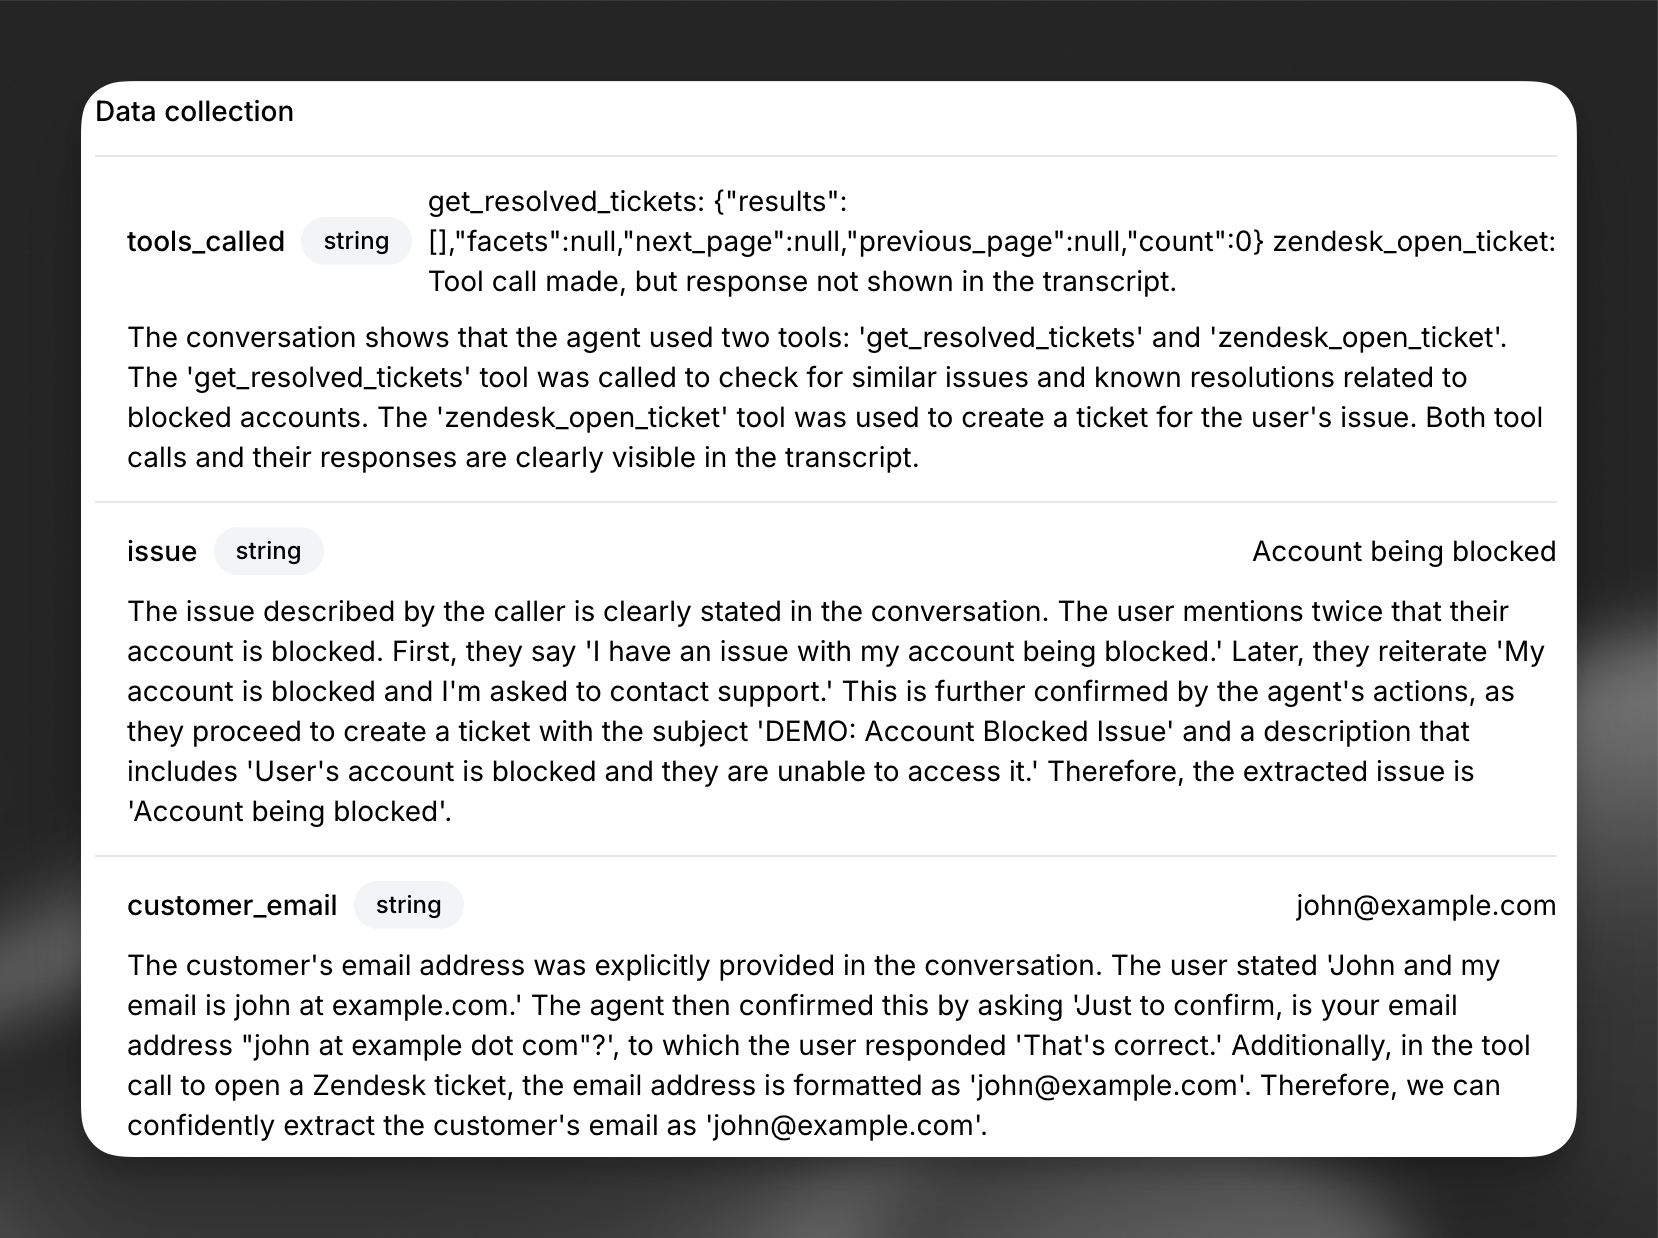
Evaluation configuration
Configure evaluation criteria and data collection parameters in the Analysis tab to monitor customer interactions.

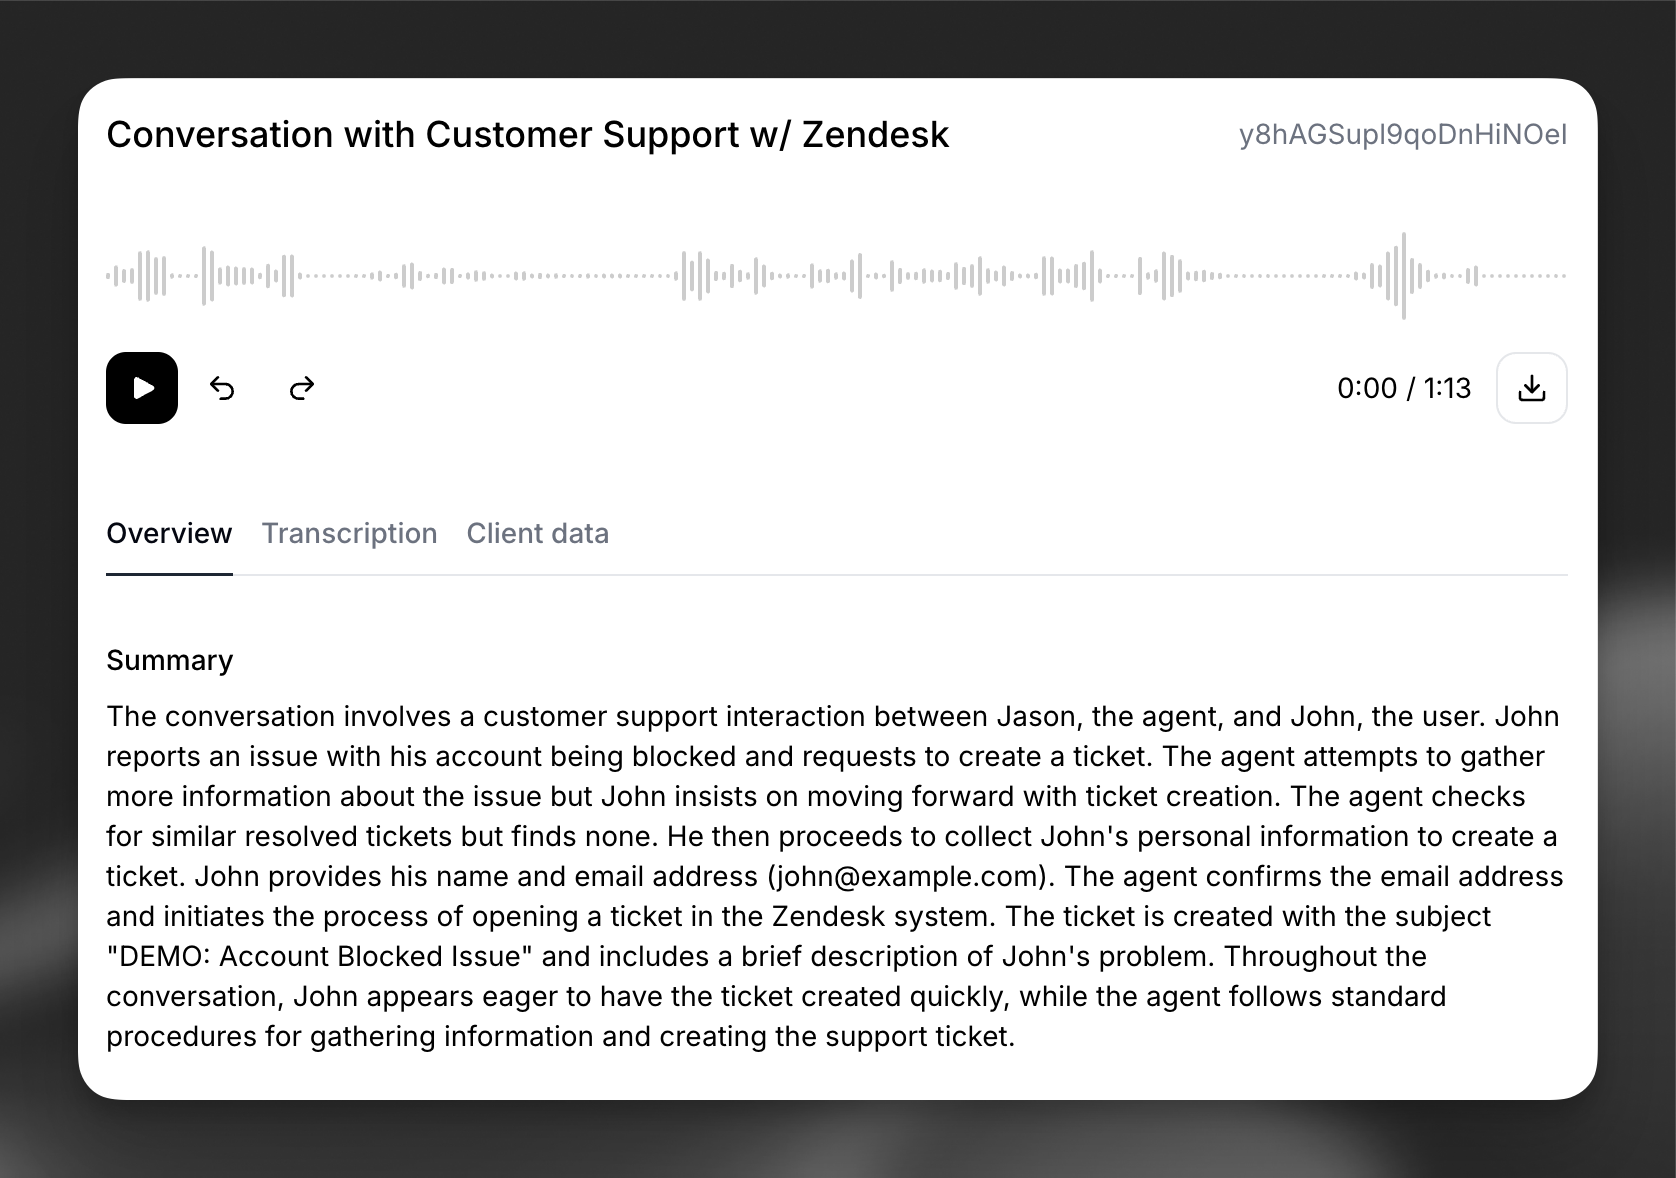
Monitoring results
After setting up the integration, review conversation summaries and evaluation data in the ElevenLabs dashboard to track agent performance.
Zendesk triggers
Configure Zendesk triggers to have your agent monitor and react to incoming ticket comments, providing first-line support.
Setup
Create a trigger in Zendesk
In Zendesk Admin Center, go to Objects and rules > Business rules > Triggers and click Add trigger. Configure the conditions that determine which ticket events the agent should respond to (e.g., new tickets in a specific group, ticket comments with a certain tag). Note the trigger name — you will need it in the next step.
If the you cannot save the trigger because an action is missing, add a simple action like adding a “agent is processing” tag to the ticket.
Connect the trigger in ElevenLabs
On your agent’s configuration page, add a new trigger and select Zendesk Trigger. Configure the fields:
- Agent: the agent that handles incoming conversations.
- Trigger Rule Name: the name of the Zendesk trigger you created in the previous step.
- Daily Ticket Limit (optional): maximum number of tickets the agent handles per day. Leave empty for unlimited.
When you activate the trigger, ElevenLabs creates a webhook in your Zendesk account and adds it as an action to the trigger you specified. Deactivating the trigger removes the webhook and action.
Avoiding loops
When the agent responds to a ticket comment via the Zendesk API, that response is itself a new comment — which can re-trigger the agent and create an infinite loop. Add either of the following conditions to your Zendesk trigger to prevent this.
Exclude the service account from the trigger. Create a separate Zendesk user for the integration (e.g., ai-agent@yourcompany.com) and use this account’s credentials when connecting in ElevenLabs. Then add this condition to your Zendesk trigger:
- Current User, Is Not, <your service account>
Exclude API updates from the trigger. This filters out all updates made through the Zendesk API, regardless of which user made them:
- Ticket > Update Via, Is Not, Web Service (API)